If you’re looking for a countertop oven that does it all—bake, roast, air fry, sear, and more— Bravo XL Pro A kitchen game-changer. With its advanced features, digital probe and 12 cooking functions, it combines the power of multiple appliances in one compact unit. Whether you’re a beginner or an experienced home cook, knowing how to set it up and use it properly will help you get the best results from day one.
In this guide, we’ll take you through unboxing, setup, key functions and smart tips to master your Bravo XL Pro.
Step 1: Unboxing and Setup
When you first unpack your Bravo XL Pro, remove all stickers, packaging materials and protective films. Inside the box, you will find several accessories including:
- cooking rack
- Baking pan with broiler rack
- Air Fry Basket
- Crumb tray
Wash all these accessories in warm soapy water, rinse thoroughly and dry completely before use.
Next, put the stove on a Stable, level, and heat-resistant surface With enough ventilation around. Slide the cooking racks into two, three or four positions depending on your recipe. Place the baking pan and broiler rack on one rack, the air fryer basket on the other, and insert the crumb tray into the bottom of the oven. The crumb tray is easy to remove for cleaning after each use.
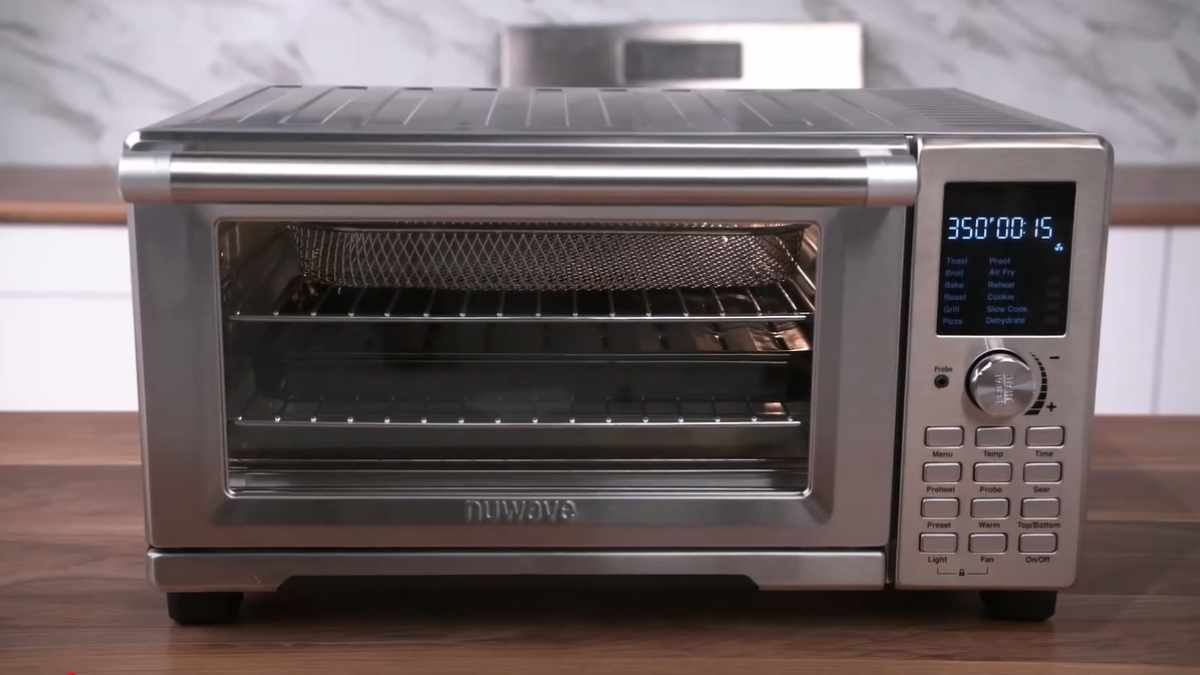
Step 2: Powering On and Basic Controls
To start, press ON/OFF Button By default, the Bravo XL Pro sets itself 350°F And 15 minutes cooking time
You can easily adjust these settings:
- press The temp Use the dial to set the temperature between and 50°F and 500°F.
- press the time and turn the dial to set your desired cooking time.
- When ready, press get started to begin
- To stop cooking, press pause button
This simple interface makes it beginner-friendly while still offering precise controls for advanced users.
Step 3: Explore the cooking functions
This is one of the best features of the Bravo XL Pro 12 preset cooking functions, which makes it easy to choose the right settings for different dishes. Each function comes with a preset temperature, cooking time and recommended rack position.
For example:
- roast One of the rack positions works best.
- bake Rack positions can be set to one, two, or three.
To access this function, press menu, turn the dial to select your choice and press get started. If needed, you can always adjust the preset time or temperature.
Step 4: Using the preheat feature
Some recipes call for preheating and the Bravo XL Pro handles that with ease. simply:
- Set your desired temperature and time.
- press Preheat and then get started.
- As the oven heats up, the display will show “Preheat”.
- Once it reaches the target temperature, the display shows “Ready” and starts a 10-second countdown.
Place your food inside during this countdown and cooking will start automatically.
Step 5: Perfect cooking with digital probes
You want proper cooking, Digital temperature probe your best friend Plug it into the control panel and insert the probe into the thickest part of your food, avoiding the bones.
The oven displays the current internal temperature and a default target 165°F, which you can adjust anywhere in between 50°F and 212°F. The Bravo XL Pro beeps when your food is within 10°F of the target and automatically shuts off when cooked.
Step 6: Special Features You’ll Like
- Sear Mode: Cook on high heat – default 500°F for 5 minutes, adjustable up to 30 minutes.
- 100 presets: Bravo XL Pro comes with 100 pre-programmed recipes for added convenience. Access them through preset button
- Warm mode: Keep food warm 140°F for 1 hour (adjustable up to 200°F and 3 hours).
These features make it versatile enough to replace various appliances in your kitchen.
Step 7: Advanced Customization
For even more control, Bravo XL Pro offers advanced settings:
- Up/down heat control: Adjust how much heat comes from the top versus bottom elements.
- Fan speed: Choose between Level 1, 2, 3 (default) or Off.
- Change units: Hold to toggle between Fahrenheit and Celsius The temp for four seconds.
- Save the new default: Set the time and temperature you want, then hold get started until two beeps confirm it.
- Time Display Options: Change between hours/minutes or minutes/seconds by holding down the time for four seconds.
Step 8: Convenient Extras
- Interior Lighting: press the light To test your food.
- Child Lock: press Light + Fan together to lock/unlock the control panel.
- Mute Mode: hold on up/down To silence the beep
Cleanliness and care
Always let the oven cool down before cleaning. Remove and wash the crumb tray after each use. Wipe the interior with a damp cloth and mild detergent if necessary. Accessories such as racks, trays and probes should be washed in warm soapy water and dried thoroughly. Never immerse the oven in water.
final thought
The Bravo XL Pro isn’t just a toaster oven – it’s a powerful, versatile cooking machine. With 12 cooking functions, 100 presets, a digital probe and customizable settings, it delivers consistent results every time. Whether you’re air frying crispy fries, roasting a whole chicken, or baking fresh cookies, this oven can handle it all with ease.
If you’ve just unboxed your Bravo XL Pro, follow this guide to set it up and explore its many features. With a little practice, you’ll find it can become one of the most valuable tools in your kitchen.