DJI’s Action 2 which was launched 3 years ago. It is available for Rs 15,000. Using card discounts etc, I got this action camera for around Rs 1,5,000. Which is quite attractive at this price. There are two different units. Now what is the purpose of this, we will talk about it later. One interesting thing is that you will see that 128 GB is written at the bottom. So let me tell you an interesting fact that when it was launched, it was available only in 32GB. But obviously with time they realized that the camera was selling but the storage was low. So finally they launched the 128GB variant. This is the Power Combo which is available now. I have no idea what is the difference between the normal and the Power. The rest of the box content is at the back, so we can open it and see. So if you open the box like this. There are two boxes inside the box. One has accessories written on it. The other has Action 2 written on it. So first we take out the box of DJI Action 2. And here they said that you can download the Mimo app. The Mimo app is used to activate the firmware, update it, and all that. So the Mimo app is a very old app of theirs. Now if I open it up from the inside. There are two packs. Anyway, I haven’t opened it up yet. What’s everything? So my first reaction is what are you looking at. So inside the box, first there are these two units. Other than that, yeah, that’s what it is. So these are some stickers from DGI. Inside there’s a quick start guide. Manuals, etc. Outside of that, we open these two units one by one. First of all, I think yes, this is the camera unit that we open up from here. Now why it came out like this, I also need to find out. Because the unit that you see above is a camera. There’s a button on the top, if I tp it, I think this display etc. will come out on the back. Language, we’ll set all this up later. But let’s see first. Now it’s interestingly magnetic. You’ll see that it’s stuck like this with a magnet. Now as far as I know, this is its magnetic case. So this way, I think yes, so this is its magnetic protective case. You will also be able to attach it to accessories etc. So this is the camera unit. After that we will see the second unit. This is its, yes I think this is the complete unit with the power bank and the battery, this is the bottom part of it. Now I can attach this camera first like this. But before that we remove it once. I will attach this productive magnetic case once, which will be attached like this, yes, I think by sliding. Yes, I have to take this case out. No, I think it is attached upside down. It has to be removed. So actually I should have attached it by matching the button to the button. And now it fits completely inside. Okay? So what do these two modules do? These two will be attached to each other. And obviously it will charge the battery. The writing on top is also visible. So this way I removed the sticker. There is also a lens protection cap sticker etc. on the front. We will remove it later. Now obviously this is the full setup window from where we will select English. Well they wrote that the magnetic protective case has been installed. The camera usage time has been extended. So it’s like this. Now you have to activate it from the Mimo app. But for now we will skip that. We have five options. So all these options like this. Now what is the resolution, what are the settings, let’s go through that. Apart from that, there was one more thing in the box, let’s see the accessories section. After that we will do the setup. So here they mentioned a few things that give us an idea of what is inside. But let’s look at them one by one. First, here is this lanyard. Now what is this lanyard? I will show you it later. But first let’s open it once. Now it is magnetic. So the magnetic lanyard means that you can wear this camera around your neck like this and if you want to shoot some samples like POV etc. you can do that. So basically your lanyard will be used for that. Apart from that, this charging cable is USB to Type C.
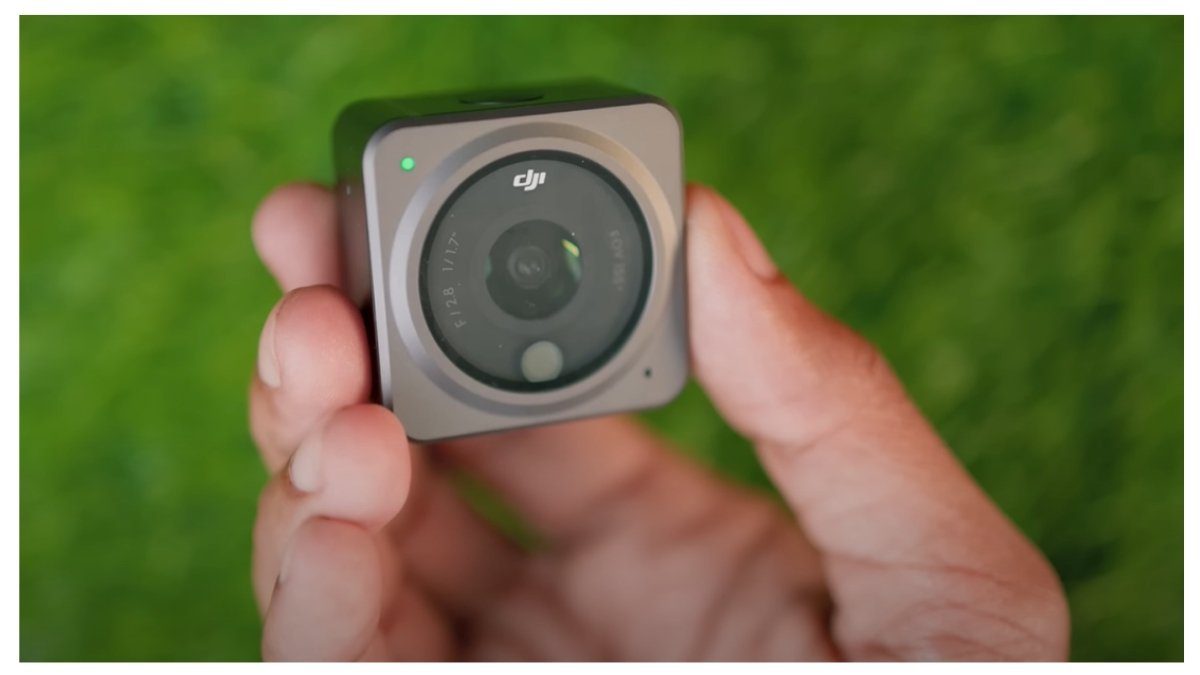
And the next thing in the box is a magnetic accessory because DGI, about 3 years ago, brought out this thing that brought the latest level of action cameras, which is the magnetic mount. Now for that, first I need to remove this camera from here. Okay? This is the camera unit and so, after attaching this magnetic mount, you can attach your accessories underneath. After that, let’s look at the last thing in the box. I think this is the headband. Yeah, so you get the headband that you get here like this, again it’s magnetic. So if I put this camera here, then even after attaching the headband, I can shoot POV videos and so on. So that was the unboxing. Now let’s explore the camera with the sample. So first, let’s talk about some specifications. Now the sensor inside this is a 7 inch CMOS sensor and it has an F 2.8 lens which has a field of view of 155mm, if you use it in ultra wide angle. For the rest, you get a touch screen on the back which is a 1.76 inch touch screen. It is OLED so you can navigate the menus etc very easily and its response is quite good. Now basically as I told you in the unboxing, this Action Two comes in two parts which you can get combos etc. The bottom one acts as the battery pack. The top one is your main camera unit. So, you can also use it as a solar unit. Now inside this you get electronic image stabilization which works up to 60fps. Now this unit is waterproof up to 33 feet and if you use its case you can take it up to about 60 meters. I would say about 60 feet. So now let’s talk about the performance. So let’s see, first while using the camera. One thing I didn’t understand at first was how the modes would change. So there’s a button on the top, if you press it twice, you’ll see all your modes. First, photo mode. Then video mode. Then quick clip, slow motion, time lapse. So here are the basic modes. I’m going to talk about video mode. But before that, let’s talk about the angle of view. Now when you use this action camera, you’ll get three options. So there’s this icon on the right, if you tap on it, it says FOV. You have to go here. There are three options, ultra wide, wide and deep block. Now I’m going to show you clips of all three of them one by one. So that you get an idea. You get the widest view at the ultra wide angle which is 155mm. Then there’s wide which is a little bit cropped. Then there’s deep crop which I use more for vlogging ideally. So let’s go through clips of all three, which I shot outside, so that you get an idea. So I’m shooting this video inside the studio. So if you’re at home vlogging etc., then you make videos. Hopefully you get an idea from here. Right now I’m standing right next to the window. You get an idea from the light coming from the window. And this is ultra wide which is the widest angle. Deeper, I’m going to shoot another sample now. We’ll see that. So the first thing you hear is the audio coming from the internal mic of the Action 2. Okay? How is that, we’ll see later. The second thing is, now I’m shooting in front light. But let’s move back a little bit. Let’s assume you’re shooting in normal light at home. So there’s a little bit of side light. Now you get an idea of the dynamic range that there’s not as much light on the face as there is on the face. So that’s all. Now I’m walking down my hall. To see how this action camera works where there’s a challenge of light. Because okay, it’s definitely going to work well in very bright light. But if you’re looking for a camera for vlogging. Now look at how action cameras are coming because we’re used to it. When we look at the front, there is a display. There is no display. But the wide angle is so much that you don’t even need a display. You get a sense that if you hold your hand outstretched, your face will definitely be visible. It becomes useful somewhere when you are shooting at the maximum wide angle ultra wide angle. So now I have switched to devop. Now look at 4K 60fps there are three options. Ultra wide, wide and devop. What is in devop? Distortion is reduced. So now you get a little bit of a natural perspective like on a phone etc. So, I am also doing this because I personally prefer devop more, compared to ultra wide angle.